

Launching a server should not take an afternoon. On Venesh Cloud, going from a new account to a running VM is a short, guided flow, and once the VM is up, a handful of habits in the first hour will protect it for its whole life. This guide covers both: the launch itself, and a practical security checklist to work through straight after.
Part 1: launching your first VM
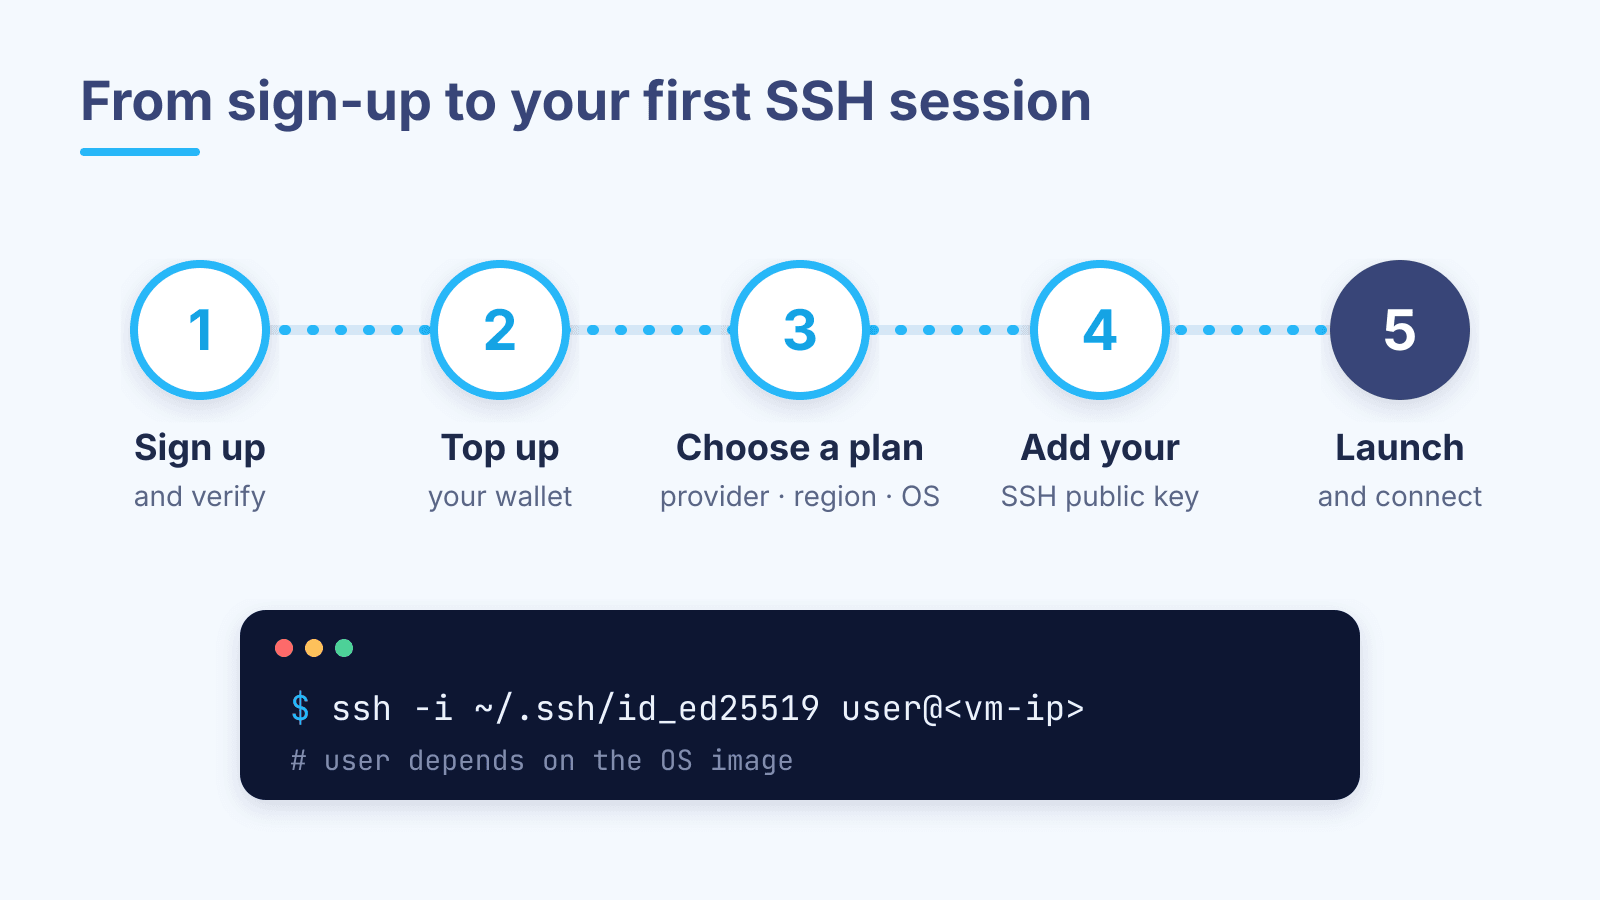
Step 1: sign up and verify
Create an account and verify your contact details with the code we send you. Verification protects your account and lets us reach you about anything important on it.
Step 2: top up your wallet
VMs are paid from your wallet. In Billing & Wallet, choose "Top up", pay through the Parsian bank gateway and you are returned to the dashboard with the credit added. To place an order, your balance needs to cover at least about a week of the plan you choose. (How the wallet protects you from exchange-rate swings is explained in our article on paying for cloud in Rial.)
Step 3: choose provider, region, OS and plan
Open Create New VM. The catalog asks for a provider, a region, an operating system image and a plan, and shows the price as you go. The plans are the providers' real plans with their real names and specs. If you are unsure which region to pick, start with the one closest to your users; our guide on choosing a region goes into more detail.
Step 4: add your SSH public key
This is the most important security step, and it happens before the server even exists. Instead of relying on a password, you give the VM your SSH public key, and only someone holding the matching private key can log in.
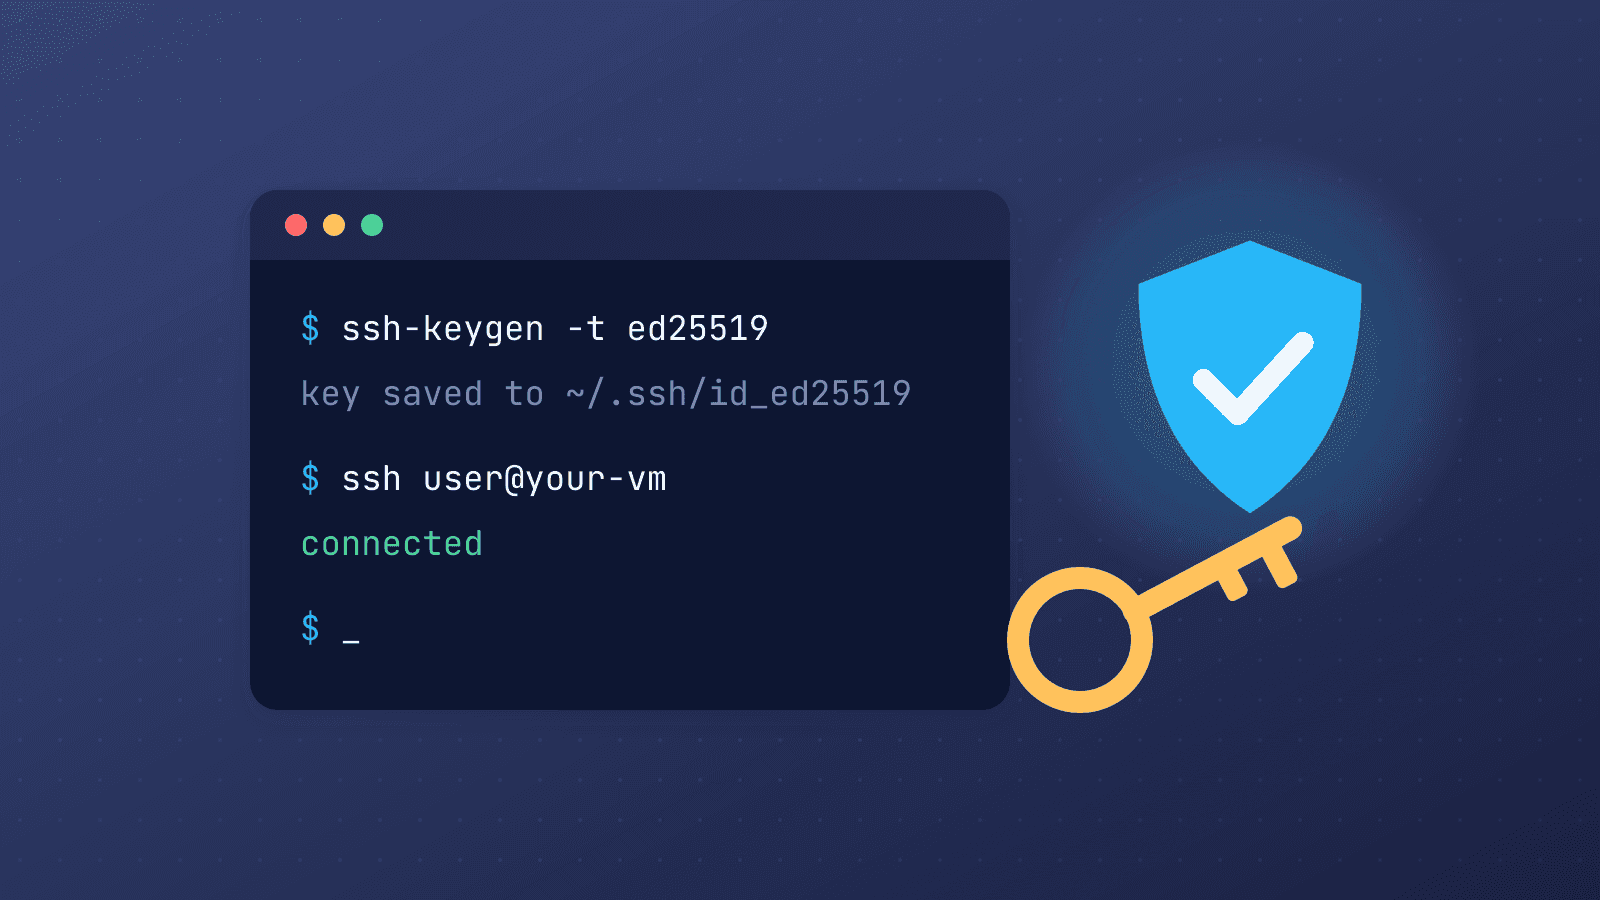
If you do not have a key yet, create one on your own computer. On Linux, macOS and Windows 10 or 11 (in PowerShell), the same command works:
ssh-keygen -t ed25519 -C "you@example.com"
Accept the default location and set a passphrase. This creates two files: id_ed25519 (private, never share it) and id_ed25519.pub (public). Paste the contents of the .pub file into the SSH key field of the order form. The form accepts the standard ssh-ed25519, ssh-rsa and ecdsa key types.
Step 5: launch and connect
Confirm the order. The VM's status moves from provisioning to running, which typically takes a few minutes depending on the provider and image. Its IP address then appears on the VM's page, and you can connect:
ssh -i ~/.ssh/id_ed25519 <user>@<your-vm-ip>
The login user depends on the image. Many Ubuntu images use ubuntu, for example, while others use root or the distribution's name. The image's documentation will tell you. If SSH does not connect, the VM page also offers console access (a graphical console where the provider supports it, a text console otherwise), so you can see what the machine is doing.
Part 2: the security checklist
A new server is visible on the internet within minutes of starting, and automated scanners will find it quickly. None of the steps below are difficult. Together they close the doors most attacks rely on.
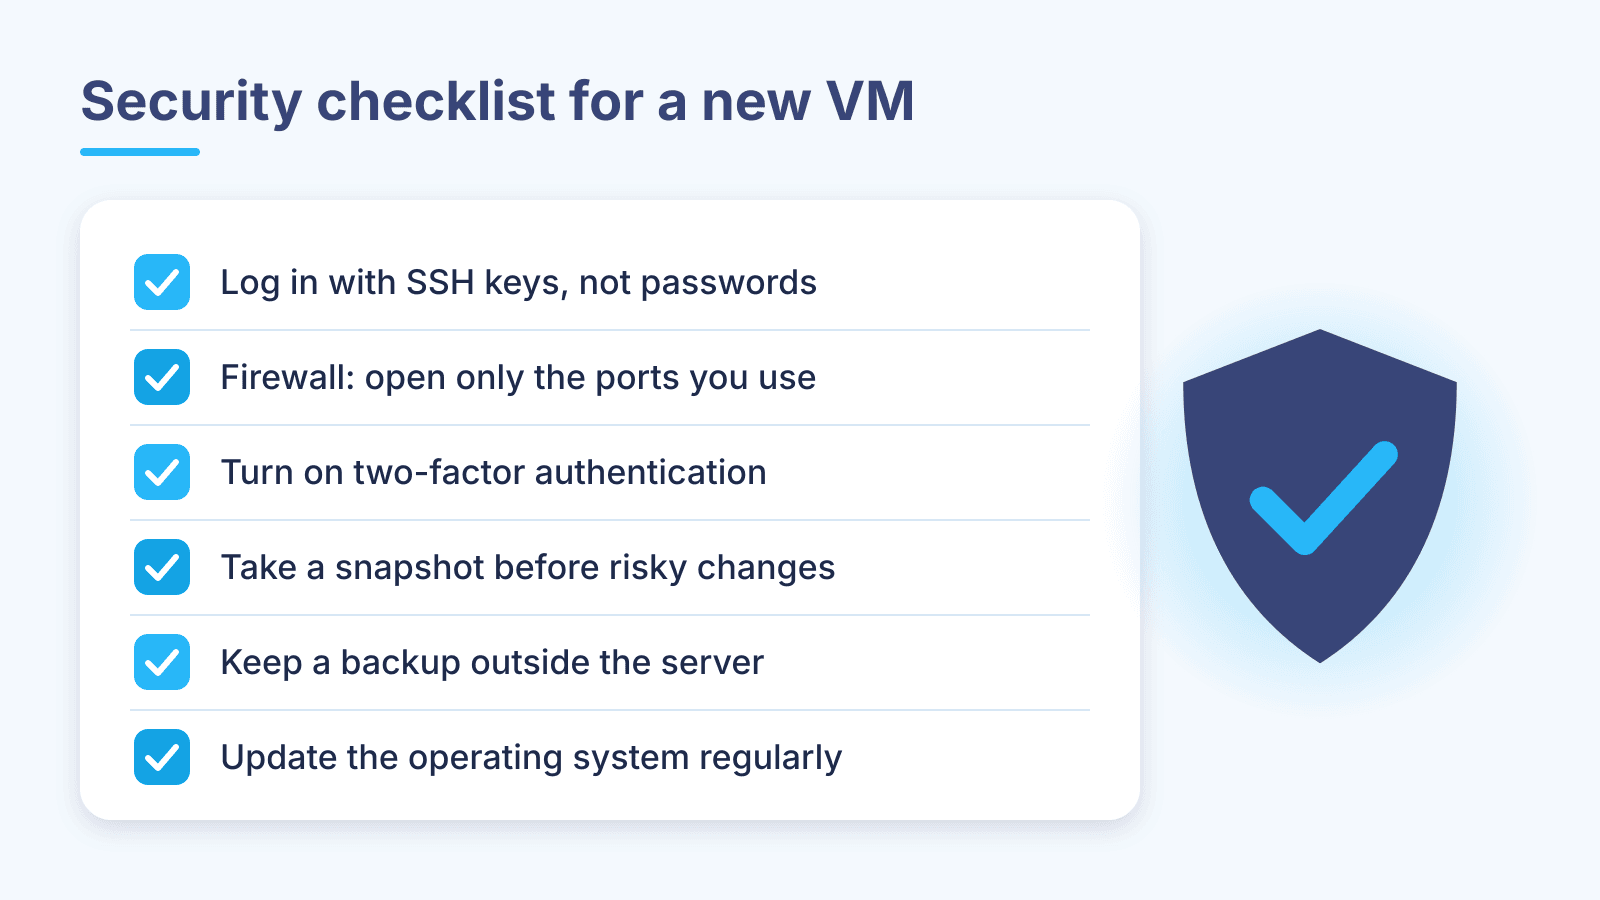
1. Log in with SSH keys, not passwords
Once you have confirmed you can log in with your key, turn off password logins so nobody can guess their way in. Edit /etc/ssh/sshd_config and set:
PasswordAuthentication no
PermitRootLogin prohibit-password
Then reload SSH (sudo systemctl reload ssh or sshd, depending on the distribution). Keep your current session open and test a new login in a second terminal before closing it, so a typo cannot lock you out.
2. Firewall: open only the ports you use
Every open port is a door. On the VM's Firewall tab you can add rules by direction, protocol (TCP, UDP or ICMP), port range and source address. A sensible starting point for a web server:
- SSH (TCP 22), ideally only from your own IP address or office range.
- HTTP and HTTPS (TCP 80 and 443) from anywhere, if you are serving a website.
- Nothing else until you need it.
Adding a firewall inside the operating system as well, such as ufw on Ubuntu, gives you a second layer if one of them is ever misconfigured.
3. Turn on two-factor authentication for your account
Your VM is only as safe as the account that controls it. Anyone who gets into your Venesh Cloud account could reinstall or delete your servers. In Account Settings → Security, enable two-factor authentication. You can use an authenticator app, email or SMS for the second factor. You will be shown recovery codes once during setup; store them somewhere safe and offline, because they are your way back in if you lose your phone.
While you are there: if you create API keys, give each one a clear name, and delete any you no longer use.
4. Take a snapshot before risky changes
Before a major upgrade, a big configuration change or installing something unfamiliar, take a snapshot from the VM's Snapshots tab. If something breaks, you can restore to that point instead of rebuilding by hand.
Two caveats. Snapshot support is being rolled out provider by provider, so check what is available for your VM. And only count on a snapshot once its status shows as completed.
5. Keep a backup outside the server
A snapshot lives with the same provider, in the same account, and usually in the same region as the VM. It protects you from your own mistakes, but not from every kind of failure. For data that matters, such as databases and uploaded files, keep a regular backup somewhere else: another region, another provider or your own storage. Test restoring it at least once, because a backup you have never restored is only a hope.
6. Update the operating system regularly
Most real-world break-ins use vulnerabilities that already have fixes. Update right after the first login and keep updating:
sudo apt update && sudo apt upgrade -y
On Debian and Ubuntu, the unattended-upgrades package can install security updates automatically.
Bonus: use a normal user for daily work
Create a regular user with sudo rights for day-to-day administration instead of working as root, and give each person who needs access their own user and their own key. That way you can remove one person's access without changing everyone else's.
If something goes wrong
- Locked out of SSH? Use the console from the VM's page to log in and fix the configuration.
- Server badly broken? Restore a completed snapshot, or reinstall the OS from the VM's page. Reinstalling wipes the disk, so be sure your data is backed up first.
- Need a hand? Open a ticket under the Technical category and describe what you were doing when the problem started. The more detail, the faster we can help.
A new VM takes minutes to launch. Spending one more hour on this checklist means it will still be yours, and still running, a year from now.

Written by Venesh Cloud Team